
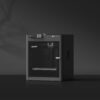

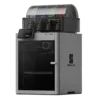
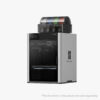


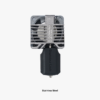
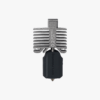

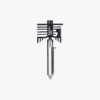

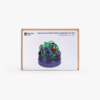


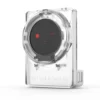


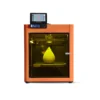
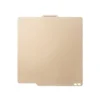
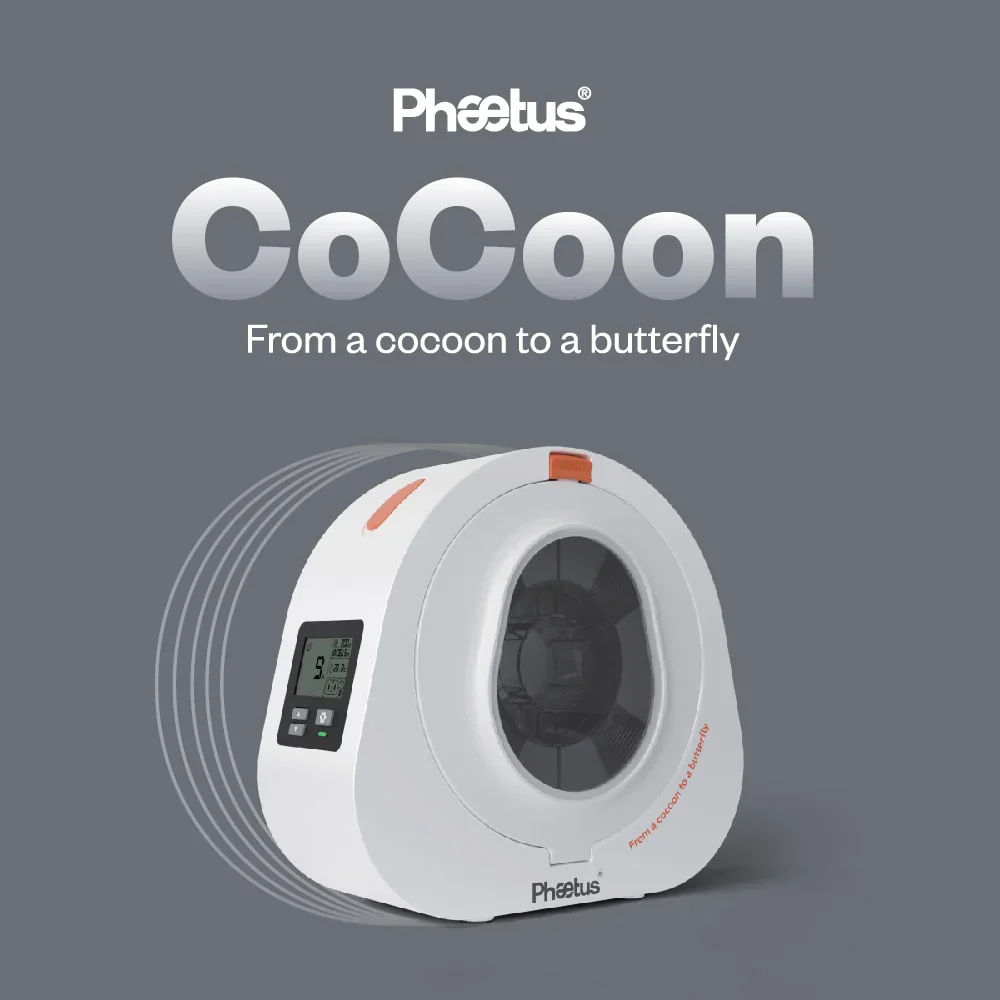
Phaetus CoCoon Filament Dry Box
$81.95
* Get free shipping for orders over $150.00
Phaetus CoCoon Filament Dry Box – In stock locally in Sydney for fast, reliable delivery. Keeps filaments dry with low humidity control, ensuring smooth, high-quality 3D prints. Order now for same-day dispatch! 🚚💨
Only 2 left in stock
Phaetus CoCoon Filament Dry Box
Introducing the Phaetus CoCoon Filament Dry Box—your ultimate solution for maintaining optimal filament condition and ensuring superior 3D printing results.
Key Features:
- Effective Moisture Control: Designed to maintain a low-humidity environment, the CoCoon Dry Box protects your filament from moisture absorption, which can lead to printing issues like stringing, bubbling, or weak layer adhesion.
- Energy-Efficient Operation: With a power consumption of less than 1W, the CoCoon Dry Box operates efficiently using three AAA batteries, allowing for continuous use over several months without significant energy costs.
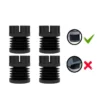
- User-Friendly Design: The CoCoon Dry Box is compatible with standard 1KG filament spools, making it a versatile addition to your 3D printing setup.
Frequently Asked Questions (FAQs):
Q1: Why is it important to keep filament dry?
💡 Filaments can absorb moisture from the air, especially in humid environments. This moisture can cause printing defects such as stringing, bubbling, and poor layer adhesion. Using a dry box ensures that your filament remains in optimal condition, leading to higher-quality prints.
Q2: How does the CoCoon Dry Box maintain low humidity?
🌬️ The CoCoon Dry Box is designed to create a controlled environment with low humidity levels, effectively preventing moisture absorption by the filament.
Q3: Is the CoCoon Dry Box compatible with all filament types?
🧵 Yes, the CoCoon Dry Box is compatible with standard 1KG filament spools, accommodating various filament materials commonly used in 3D printing.
Q4: How long can the CoCoon Dry Box operate on battery power?
🔋 With its low power consumption of less than 1W, the CoCoon Dry Box can operate for several months on three AAA batteries, providing a long-lasting solution for filament storage.
Q5: Can I use the CoCoon Dry Box while printing?
⚙️ Yes, the CoCoon Dry Box is designed to allow filament to feed directly into your 3D printer, enabling continuous drying during the printing process.
Product Overview and Installation Guide:
For a visual overview and installation guide, watch the unboxing and setup video below:
| Weight | 1.5 kg |
|---|---|
| Dimensions | 1 × 1 × 1 cm |
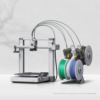
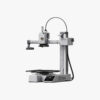
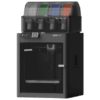
Related products
Out of stock

Out of stock
$9.99
This product has multiple variants. The options may be chosen on the product page 
Out of stock

From $8.50
This product has multiple variants. The options may be chosen on the product page 
Out of stock
$4.99
This product has multiple variants. The options may be chosen on the product page 
Others
$29.99
This product has multiple variants. The options may be chosen on the product page